 Saturday afternoon saw an unexpected opportunity for a game, so Plynkes and his Indian manservant, Sickly threw together a hasty skirmish game of Great War In the Heart of Africa. It was set in our fictional theatre of German Central Africa (keeps the pedants and sticklers at bay, you see) during the famous pursuit of the wily Von Hanneken by Imperial forces. The action involved an advance patrol of the pursuing British attempting to catch up with their quarry, while a small rearguard has been left behind at Ngomba Gorge to try and delay them for as long as possible. Given the choice Sickly opted to be the Germans.
The British objective was to cross the gorge and exit at least half their force across the German table edge. The Germans simply had to prevent this. After a couple of turns of movement the game looked a little like this:
 (Click on the pics for a bigger version)
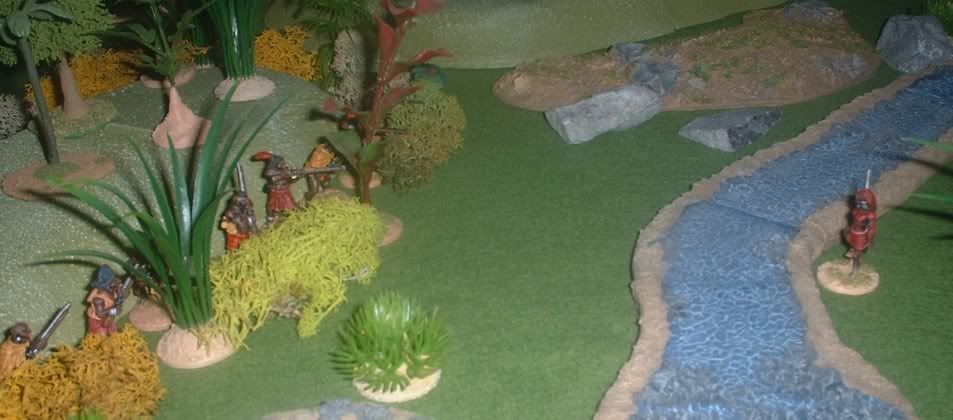
The picture shows the gorge and the postions early in the game. Through the gorge a fast-flowing stream passed. It was narrow enough to leap or wade through, but one slip and you would be swept away. The Brits had to get across somehow, while their foes lay in wait.
KeyGermans
(For some reason instead of setting up in positions with a good view of the gorge, Sickly started behind the hills, and then labouriously advanced through bad going into place. Idiot.)
A - Band of 8 Ruga Ruga native irregulars. (They advanced into the jungle and covered the ford.)
B - A squad of 10 Schutztruppe Askaris (plus standard bearer and the German commander, Leutnant Schweinsteiger). They advanced to a central position that covered both the bridge and the ford.
C - Two civilian volunteer sharpshooters. They took up a position covering the bridge.
D - A dummy counter. Nothing. Perhaps some wild beast?
British
1 - Squad of 8 King's African Rifles (including Lewis gunner and accompanied by Lt. Smithers, the British commander).
2 - Squad of 9 South African Infantry.
3 - One loyal native scout.
4 - A dummy counter. Nothing to worry about. A warm wind blowing through the long grass, maybe?
The ford and the bridge were the only two places where one could safely get across. The question marks represent additional potential safe routes across (the British scout would have to check their suitability first). Attempts to cross anywhere else would risk the figure being swept away by the current.
For those interested in such things, the forces were of roughly equal points value.
For those interested in such things, the forces were of roughly equal points value.
Just for a change let's try and let the pictures tell the rest of the story, rather than all the usual rambling nonsense.
 The native scout was sent forward to inspect the the crossing points and look out for the enemy. He quickly spotted the postion of the enemy irregulars.
 The KAR squad moved into place on the wooded hill overlooking the ford. They would provide covering fire as the South Africans attempted to cross. The scout moved on, and could find no other suitable crossing point nearby.
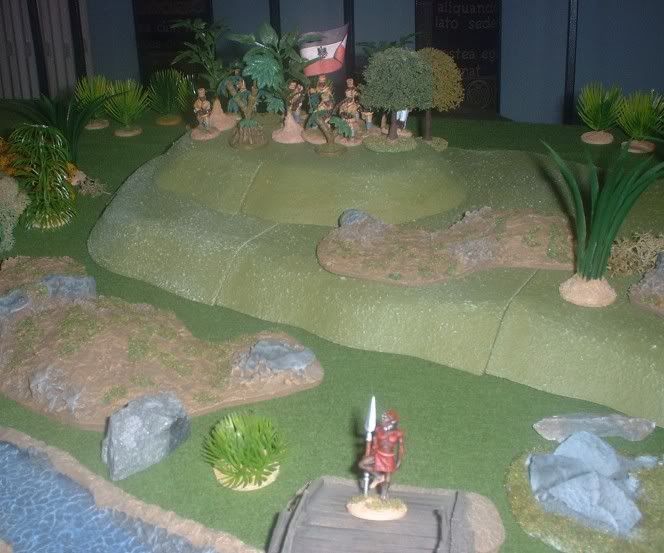 Crossing the bridge he soon spotted another enemy unit on top of the bluffs.
 The KAR squad soon began firing upon the unfortunate irregulars.
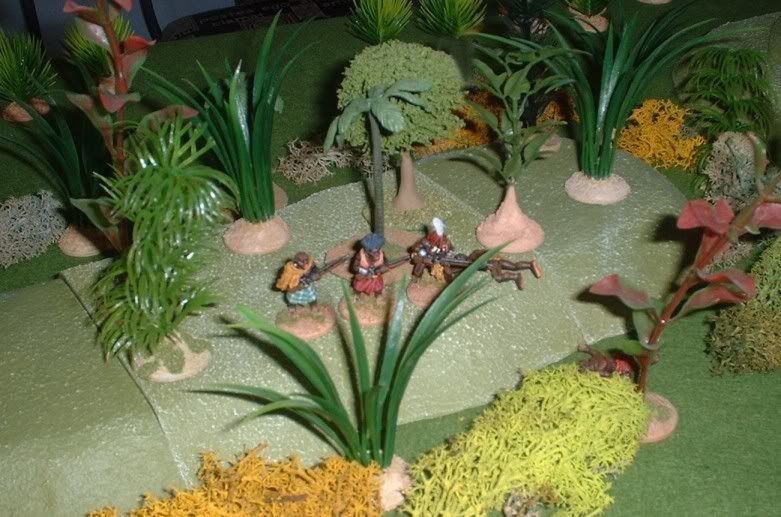 Outranged and outclassed, the Ruga Ruga started taking serious casualties. A combination of Lee-Enfield and Lewis Gun fire forced them to withdraw out of sight into the dense bush.
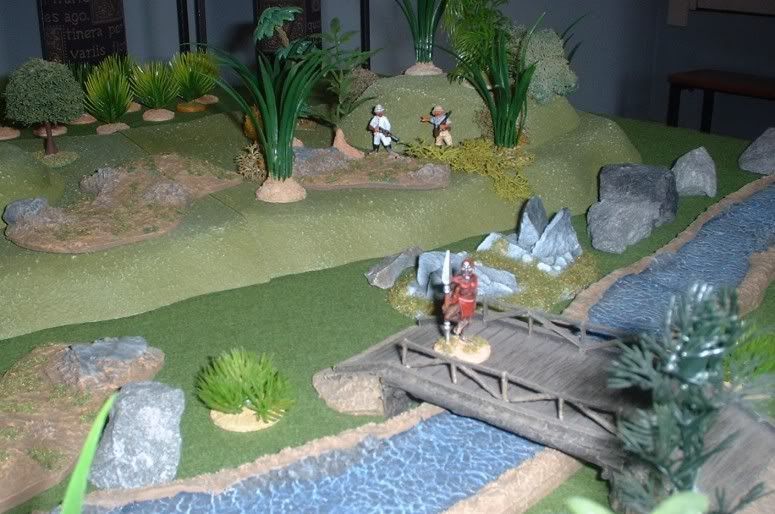 Meanwhile, the scout continued his odyssey of discovery, spotting the German sharpshooters.
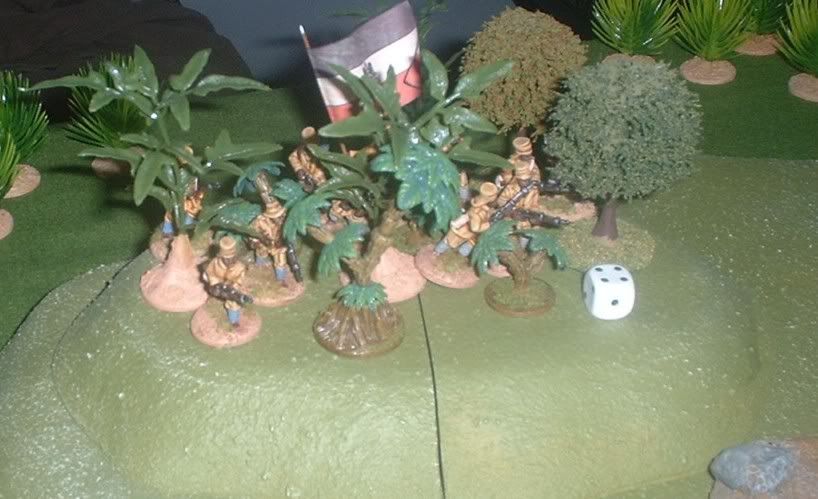 Tired of this pesky fellow, the German Askaris opened up on him. However, their shots didn't find their mark. The same could not be said of the sharpshooters. They lived up to their name and quickly put an abrupt end to the scout's promising career.
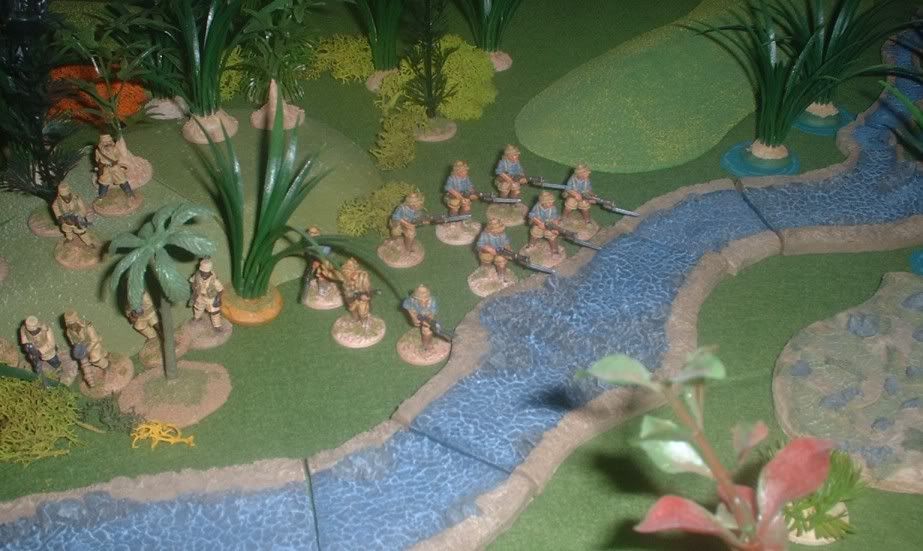 The South Africans then advanced to the ford.
 They began to take casualties as the Askaris on the bluffs concentrated their fire on them. Things were looking bad, but steady fire from the KAR squad killed several of the enemy, and forced them back from their position.
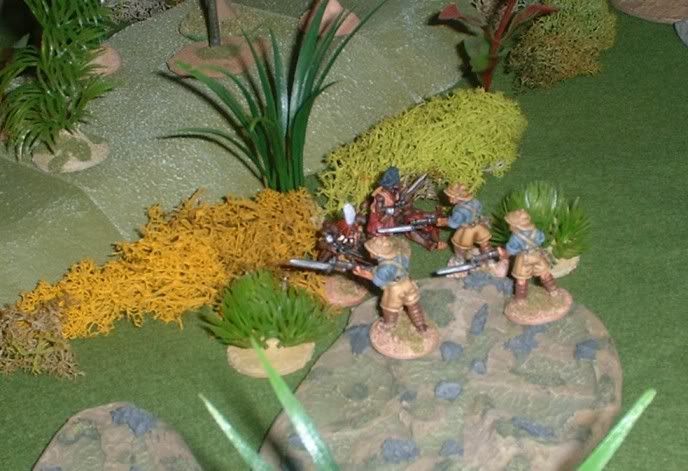 The brave Ruga Ruga returned to the fight and tried to contest the South African advance. They performed valiantly, but the remnants of their band were all eventually bayoneted. The South African squad had by now been reduced to two men. Their morale was still good, however, and they pressed on.
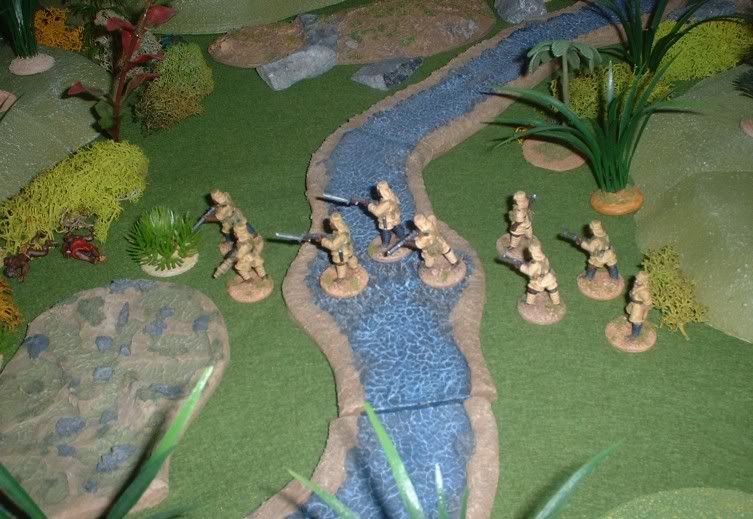 With the way now clear, the KAR also advanced to the ford.
 They made their way cautiously across, despite long-range pot-shots from the sharpshooters. The German askaris made no attempt to interfere with them, though. They instead decided to redeploy in an attempt to cut them off.
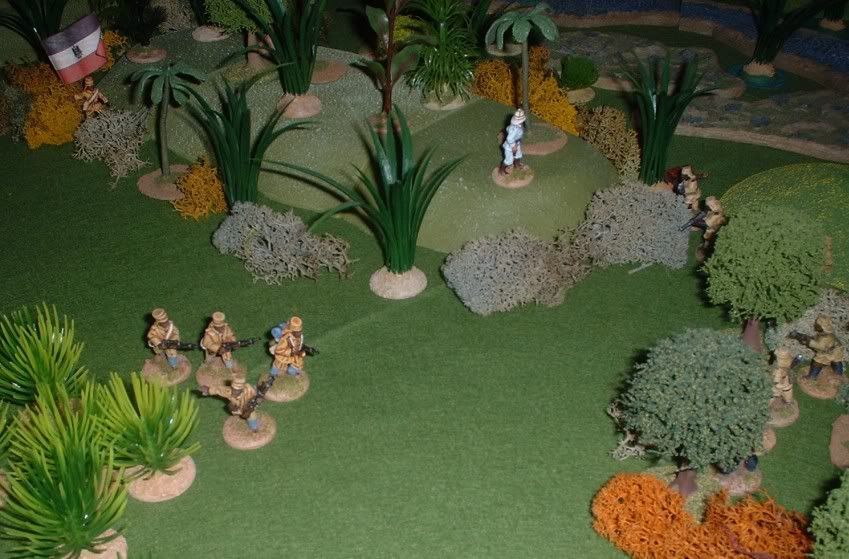 They were too slow. The British had already made it into some good cover. A brisk firefight erupted. A lucky shot brought down the Lewis gunner, but the Germans were horribly exposed in the open, and they were made to pay for their mistake of letting the British get across the ford. Several of them fell.
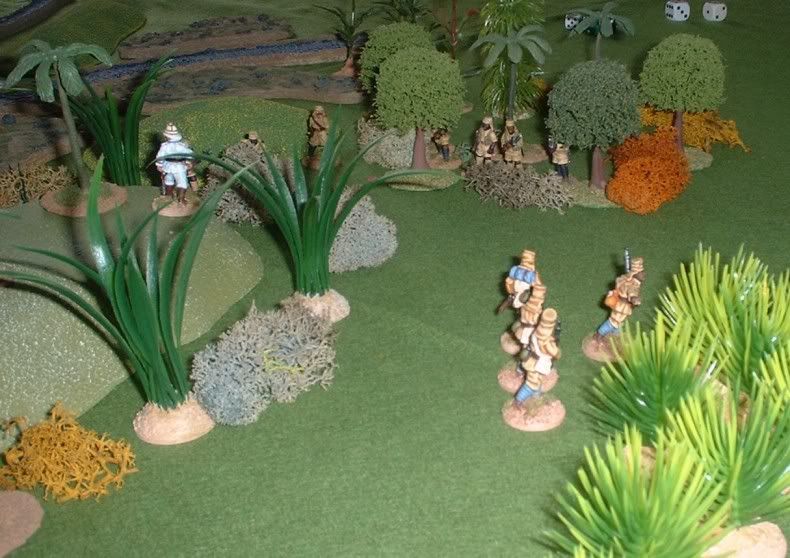 Then, the rains came. Or nightfall. Or some old friends came in from out of town. A plague of locusts? What actually happened is that the game was forced to end by the annoying intrusion of everyday real life. So they had to call it a day.
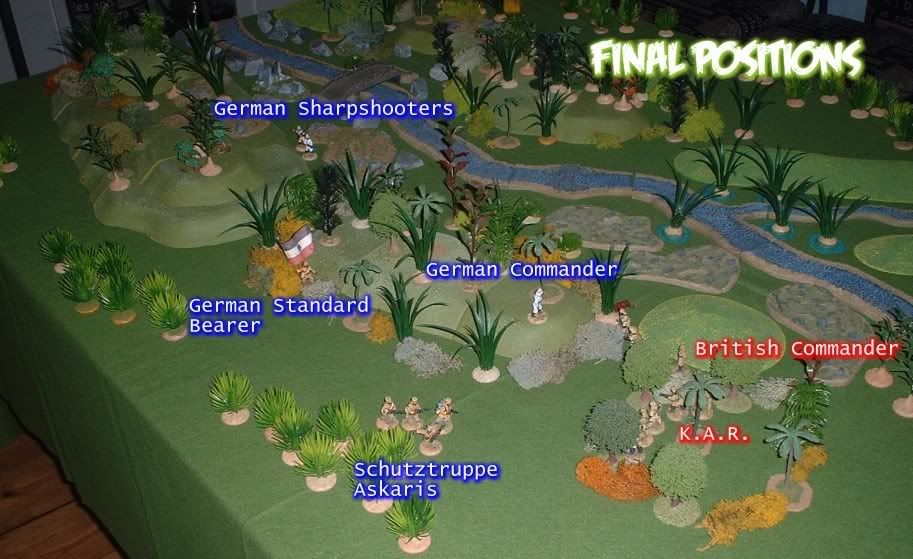
The British were in a good position, with the Schutztruppen dangerously out on a limb, and the German commander looking rather cut off and uncomfortably close to the enemy. I would say the Brits had the upper hand, but Plynkes didn't want to upset Sickly so it was called a draw. The advance had been held up for a while, and the South Africans had taken heavy casualties, though two of them had made it off the table. The KAR were still fighting fit, with a good chance of getting off-table within a few turns, had the game continued.
It had been a fun game, even if the abrupt ending was a little disappointing. The scout proved invaluable to the Brits, as they quickly discovered all the German positions and were able to concentrate on the ford, where the weakest of the German forces were. The Lewis Gun proved to be an extremely useful asset, too.
For the third time running the poor luckless Ruga Ruga figures had a bad time of it. Again they were wiped out to a man, but at least this time they cut up the South Africans good and proper before they fell. So this was actually their best performance to date, as they had either been chased away or wiped out without even getting to hurt anybody in the slightest (not even the odd Chinese Burn) in their previous outings.
Rules used were Chris Peers' "In the Heart of Africa" plus the Great War modifications from Wargames Illustrated. Figures were from Brigade, Foundry and Copplestone.
No comments:
Post a Comment